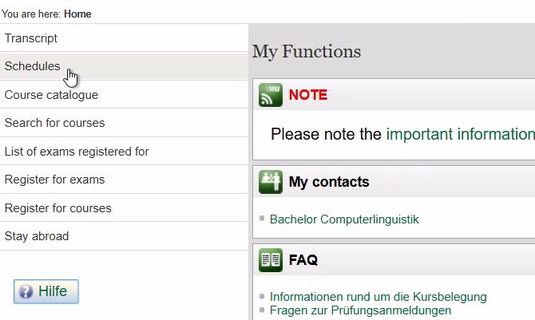
3. Schedule
3.1 Content of your schedule
Your schedule contains all courses which you have pre-selected or registered for.
With the help of schedule you will receive the following information:
- about your pre-selected courses
- about their appointments and lectureres
- about the status of your registration (whether you have been admitted or not)
A red frame around two or more courses indicates date and time overlaps.
You can choose the display options that determine the period for which the schedule displays appointments and how much information is visible for each displayed course.
|
Please note: A pre-selection of courses does not constitute a binding registration. It should rather be seen as a planning tool which should be used before the start of a semester. Please make sure to register for courses and exams within the allotted periods. |
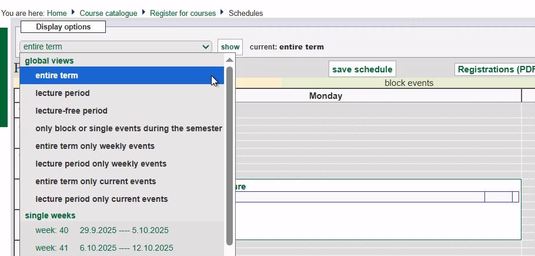
3.2 Display options
Your schedule can be displayed in various options. To do this, click on the drop-down menu.
With this function you can:
- additionally display course dates during the lecture-free period
- hide blocked and individual appointments
- hide appointments that have already took place
- show appointments for a specific week
3.3 Display of details
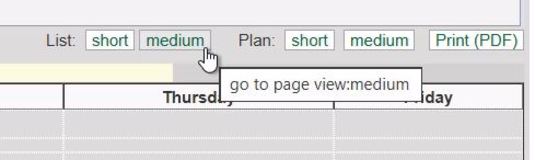
You can choose between two general display options whether you want your appointments to be displayed in the form of a list or a schedule. By default, your dates are displayed as a schedule in short form.
3.4 Display options
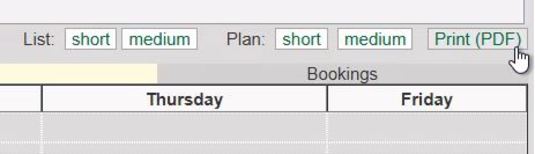
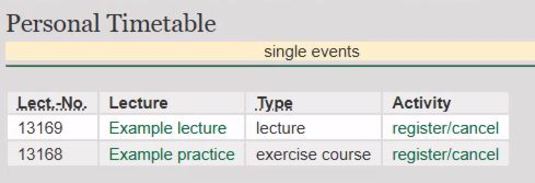
To display your schedule as a list in a short, medium or long view, click on the corresponding short, medium or long link after List; the contents of the short view include:
- course number
- title
- course type
- button for registration
In the long view, there are also:
- semester hours per week
- institution/epartment
- lecturers
- time and location
To save the settings, click on Save plan below the display options.
In addition, you can print out the courses you have attended so far as a PDF by clicking on Document data (PDF) button.
3.5 Deleting courses from your schedule
To delete a pre-selected course from your schedule, simply click the grey X in the status box of the respective course.

3.6 Printing your schedule
You can also generate a printable PDF document of your schedule by clicking on the button Print (PDF) in the top right corner.